To streamline your survey testing and feedback process, you can directly integrate a TrackEntry project with your Decipher survey. This allows testers to report issues and leave comments without leaving the survey link.
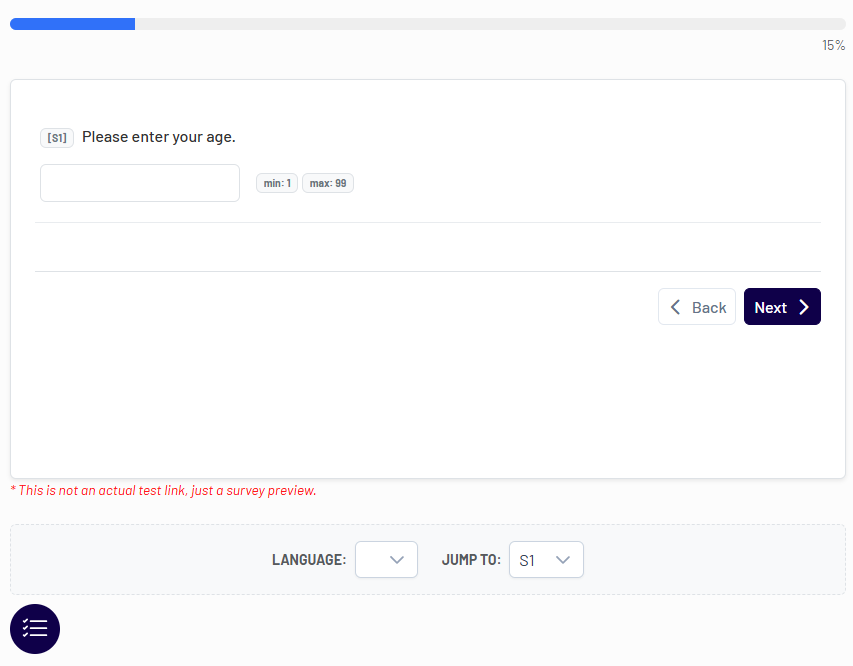
When the integration is active, a TrackEntry icon will appear in the survey interface. Testers can click this icon to open the tool and submit feedback related to the specific question they are viewing.
1. Connecting a Single TrackEntry Project #
To connect a TrackEntry project to your Decipher survey, you need to add a small code snippet to your survey’s XML file.
Step 1: Copy the Code Snippet
<style cond="list=='0'" mode="after" name="respview.client.js"><![CDATA[
<script>var url = "https://hub.kalever.net/trackentry/PutYourProjectIDHere"</script>
<script src="https://hub.kalever.net/static/js/survey-tools.js"></script>
]]></style>
Use code with caution
Step 2: Add the Code to Your XML
In your Decipher survey XML, paste this code snippet near the top of your XML file, directly after the opening <survey> tag.
Step 3: Add Your Project ID
Find your unique Project ID in the system on the Project Dashboard under PROJECT INFORMATION. Copy this ID.
Then update the code snippet by replacing PutYourProjectIDHere with your actual Project ID.
Step 4: Configure the Display Condition
The code is set to display the TrackEntry icon when a specific condition is met (in the example, cond=”list==’0′”). This condition corresponds to the list parameter in your Decipher test link. You can adjust this condition based on your specific testing setup (e.g., changing the value from 0 to whatever you use for internal testing).
2. Connecting Multiple TrackEntry Projects #
(Example: Internal vs. External Testing)
You can connect multiple TrackEntry projects to the same Decipher survey.
This is useful if you want to separate feedback from internal teams and external clients.
You can connect multiple TrackEntry projects to the same Decipher survey.
This is useful if you want to separate feedback from internal teams and external clients.
Step 1: Add a Code Snippet for Each Project
Add the integration code once for each TrackEntry project.
Step 2: Update the Project IDs and Conditions
In each snippet, replace PutYourProjectIDHere with the appropriate Project ID for your internal and external projects.
Each snippet must have a unique condition (cond=”list==’value'”). For example, list==’0′ for internal testers and list==’1′ for external clients.
Example Code:
<!-- Internal Team Feedback -->
<style cond="list=='0'" mode="after" name="respview.client.js"><![CDATA[
<script>var url = "https://hub.kalever.net/trackentry/PutYourInternalProjectIDHere"</script>
<script src="https://hub.kalever.net/static/js/survey-tools.js"></script>
]]></style>

<!-- External Client Feedback -->
<style cond="list=='1'" mode="after" name="respview.client.js"><![CDATA[
<script>var url = "https://hub.kalever.net/trackentry/PutYourExternalProjectIDHere"</script>
<script src="https://hub.kalever.net/static/js/survey-tools.js"></script>
]]></style>
Use code with caution
Using the example above, append &list=0 to test links for internal testers and &list=1 for clients. This ensures that each group sees the correct TrackEntry project for submitting feedback.