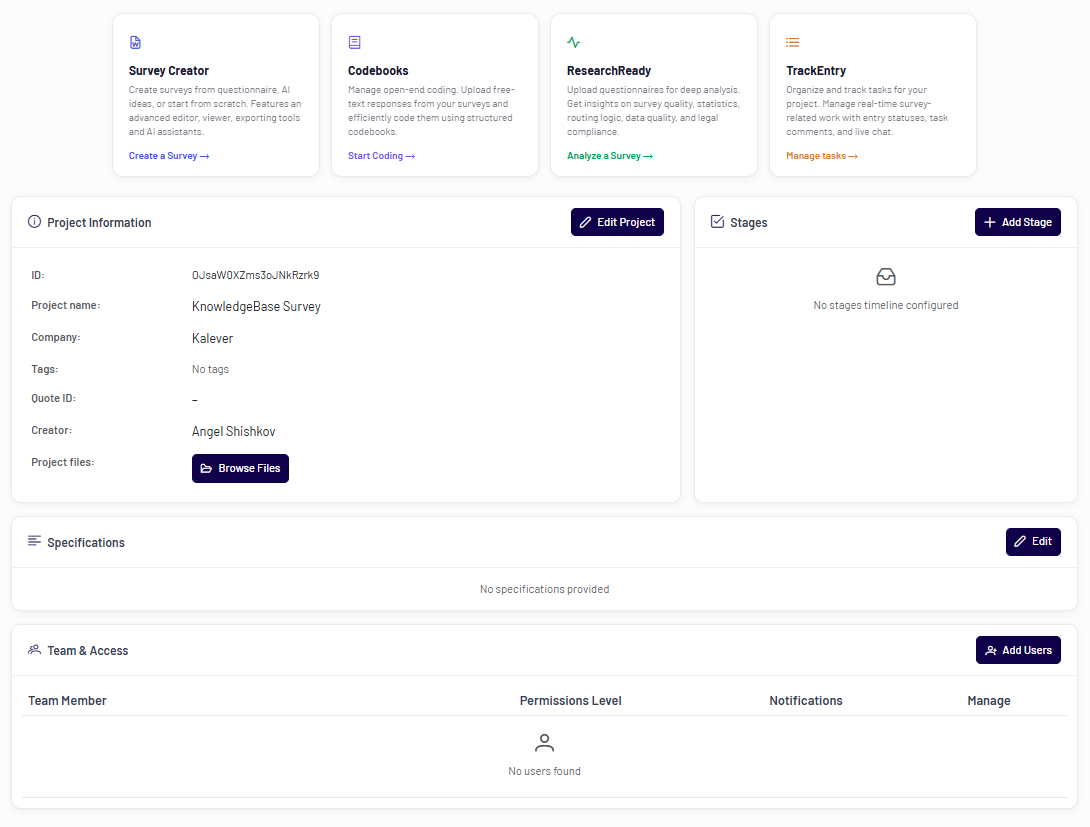
When you open a project, you will land on the Project Dashboard. Think of this as your command center for this specific project, providing access to all tools and detailed information in one place.
The Tools Menu #
At the top of the dashboard, you will find the main tools menu. These are independent modules that extend your project’s capabilities and can be accessed at any time based on your needs. Some tools may not be available based on your user permissions or company settings.

-
- Survey Creator: Enter the survey creation module to build, edit, and manage your survey.
-
- Codebooks: Access the codebook management tools for your project.
- ResearchReady: Upload questionnaires for deep analysis, including insights on survey quality, statistics, routing logic, data quality, and legal compliance.
Note: ResearchReady can also be enabled within Survey Creator during project setup.
-
- TrackEntry: Open the TrackEntry tool to manage feedback, issues, and team collaboration.
Project Details and Management #
Below the tools menu, you will find the Project Details section. This area provides a structured overview of your project’s data, configuration, and team access.
This section is organized into the following blocks:
- Project Information: Displays core project details such as ID, name, tags, and specifications. From here, you can:
- Edit Project: Modify the project’s details.
- Browse Files: Manage all files associated with the project.
- Stages:Define and track different stages or milestones of your project lifecycle.
- Specifications: View or add additional project requirements and notes.
- Team & Access: Manage all users who have access to the project, including their roles, permissions, and notification settings.
To add a new user:
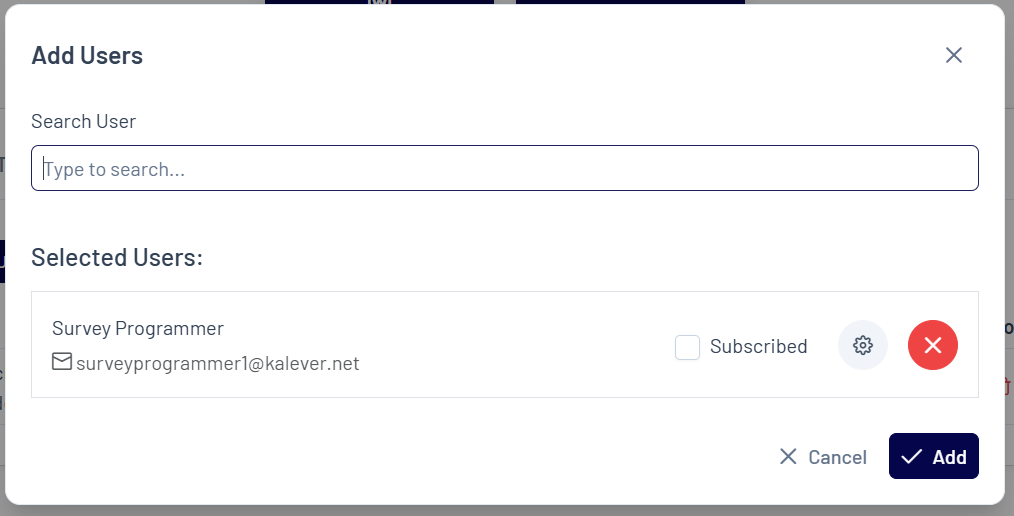
- Click “Add Users” button.
- Enter the user’s email address. Note: Only existing company users can be added to a project.
- Use the Subscribed checkbox to enable or disable notifications for this user for the specific project
- Use the gear icon
 to manage the user’s permissions within the project (e.g., tool access or administrative rights)
 - Click Add to save the changes.
The new member will now have access to the project.