Skip to content
Kalever
  • How We Work
  • The Platform
  • Why Kalever
  • Resources
    • Articles
    • Product Decks
    • Case Studies
  • Contact
Kalever
  • How We Work
  • The Platform
  • Why Kalever
  • Resources
    • Articles
    • Product Decks
    • Case Studies
  • Contact

Getting Started

4
  • Your Home Dashboard: Overview
  • Account and Notification Settings
  • Create a New Project
  • Navigating the Project Dashboard

Pricing tool

2
  • How to Create a New Quote
  • How to Download, Edit, and Duplicate Quotes

Survey Creator

7
  • How to Create a New Survey
  • Classic Editor: Control Area
  • Classic Editor: Overview
  • Classic Editor: Adding and Editing Survey Elements
  • Classic Editor: Using Custom Modules
  • Decipher Editor: Editing Your Survey
  • AI Assistant

TrackEntry Tool

4
  • Introduction to TrackEntry: Access and Overview
  • How to Create, Edit, and Manage Entries
  • Using Live Chat for Real-Time Communication
  • How to Integrate TrackEntry with a Decipher Survey

Codebooks Tool

2
  • Creating a Codebook for Open-Ended Data
  • How to Edit and Manage Your Codebook

Best Practices: A Project Lifecycle Guide

7
  • Phase 1: The Bidding Stage: Creating a Winning Quote
  • Phase 2: Project Kick-Off: Setting Up for Success
  • Phase 3: Questionnaire Design — From Idea to Final Draft
  • Phase 4: Initial Survey Programming: A Seamless Handoff
  • Phase 5: QA – Efficient and Traceable Survey Testing
  • Phase 6: Managing Client Feedback and Changes
  • Phase 7: Data Checks — Ensuring Data Quality

Survey Intelligence

4
  • Introduction to Survey Intelligence
  • Accessing Survey Intelligence
  • Running an Analysis within Survey Intelligence tool
  • Reviewing Results
View Categories
  • Home
  • Knowledge Base
  • Survey Creator
  • Classic Editor: Using Custom Modules

Classic Editor: Using Custom Modules

For complex but common market research exercises, you can use Custom Modules. These are pre-configured templates that allow you to set up advanced question types, such as MaxDiff or Conjoint analysis, with just a few clicks. Each module generates a structured setup that is ready for further editing and export.

1. How to Add a Custom Module #

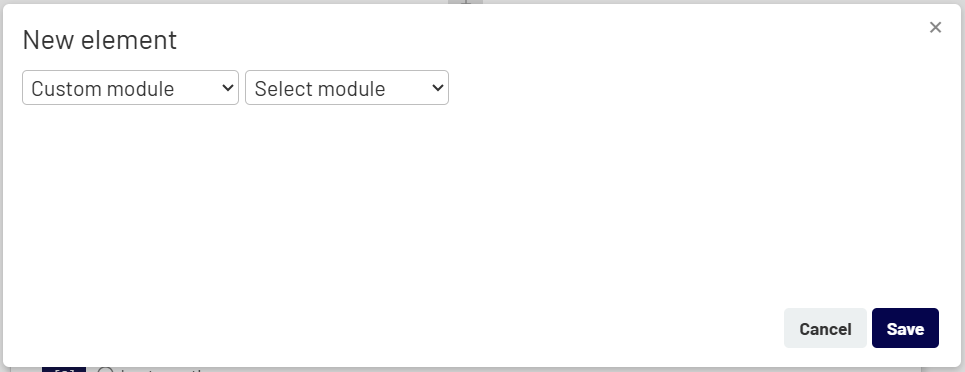
  1. In the Survey Editor, click the + button to add a new element.
  2. Element Type: From the dropdown, select Custom module.
  3. Select Module: A second dropdown will appear. Select the specific module you want to add (e.g., MaxDiff).


2. Configuring the Custom Module #

Once you select a module, a configuration form specific to that module will appear. Each Custom Module includes predefined fields and settings that allow you to quickly set up the exercise.

These modules are flexible and can be customized based on your project or client requirements, including question text, structure, and input data.

The exact fields will vary depending on the selected module. For example, the MaxDiff module may include:

  • QID: A unique identifier for the module.
  • Question text: The main text that respondents will see for the exercise.
  • Column Most / Column Least: The labels for the columns (e.g., “Most attractive” / “Least attractive”).
  • Design Filename: The name of the design file (e.g., design.dat) that contains the logic for the exercise.
  • Screens & Statements: The number of screens to show and the list of statements/attributes to be evaluated.


You can also import this data directly from a file using the Import data from file button.

After completing the required fields, click Save. The system will automatically generate the full set of questions, logic, and structure for the selected module.

Classic Editor: Adding and Editing Survey ElementsDecipher Editor: Editing Your Survey
Table of Contents
  • 1. How to Add a Custom Module
  • 2. Configuring the Custom Module

Share This Article :

  • Facebook
  • X
  • LinkedIn
  • Pinterest

Was it helpful ?

  • Happy
  • Normal
  • Sad
Contact form
Contact form
Linkedin

Copyright © 2026 Kalever | Powered by Kalever